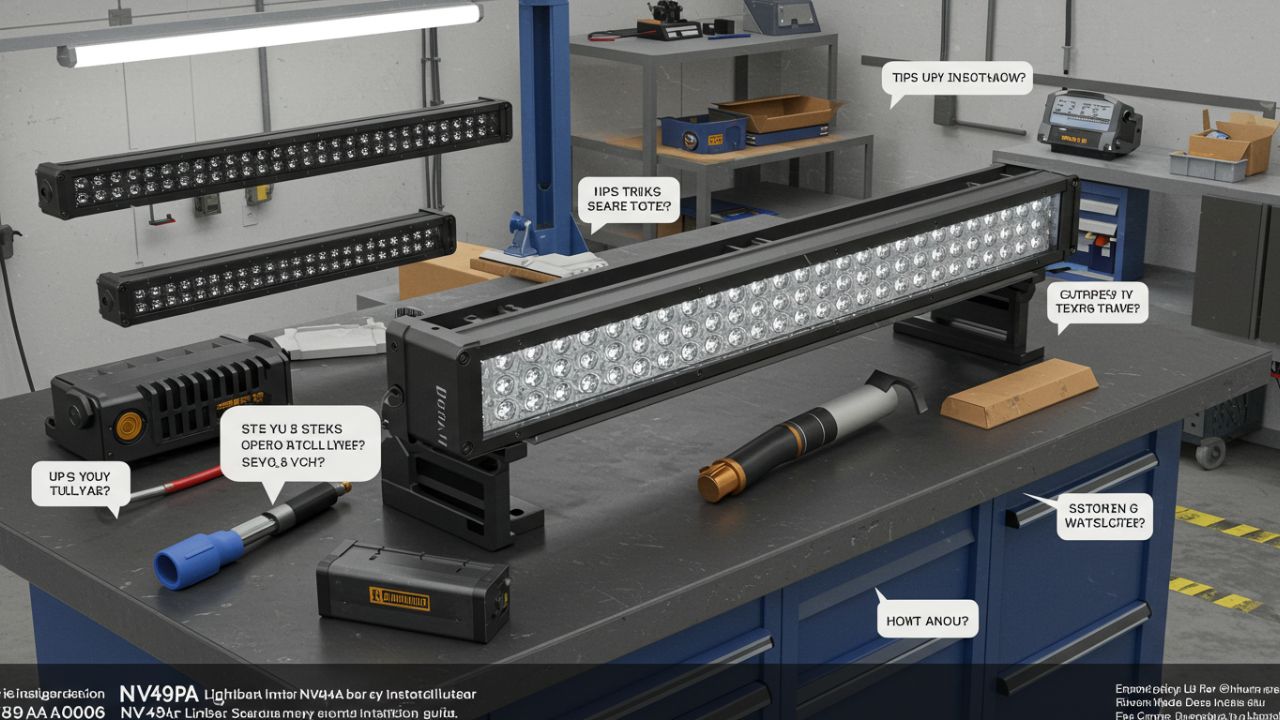
Introduction to the NV49A Lightbar
Are you ready to take your vehicle’s lighting game to the next level? The NV49A Lightbar is here to illuminate your path and enhance visibility like never before. Whether you’re navigating through foggy roads or adding a stylish touch for off-road adventures, this lightbar delivers powerful performance in various conditions. Installing it can seem daunting at first, but with the right guidance, you’ll find it’s a straightforward process that opens up a world of possibilities for your ride. Let’s dive into everything you need to know about setting up the NV49A Lightbar seamlessly!
Tools and Materials Needed for Installation
To install the NV49A lightbar effectively, gathering the right tools is essential. Start with a socket wrench set. This will help you secure mounting brackets to your vehicle.
Next, grab wire strippers and connectors. Proper connections ensure that your lightbar functions without issues. A multimeter can also be handy for checking voltage levels during installation.
Don’t forget about zip ties or electrical tape. These materials keep wires organized and prevent any loose connections from causing problems later on.
You’ll need a drill along with drill bits suitable for metal if you’re mounting directly onto tough surfaces like steel frames. Safety glasses are crucial too; they protect your eyes while working.
Having a ladder might be necessary depending on where you plan to mount your lightbar, especially on taller vehicles like trucks or SUVs. Each tool plays its part in ensuring a seamless installation experience!
Step-by-Step Guide to Installing the NV49A Lightbar
Begin by gathering all necessary tools and materials. You’ll need a drill, mounting brackets, screws, and wiring connectors.
Start the installation by locating the ideal spot on your vehicle’s roof. Ensure it’s flat for optimal stability. Mark where you’ll place the brackets.
Next, drill pilot holes to secure the mountings. It’s essential to keep everything aligned correctly for a seamless look.
Once mounted, run the wiring through your vehicle’s interior toward the battery or power source. Make sure to conceal any cables for a clean appearance.
Connect your lightbar following the manufacturer’s instructions carefully. Double-check each connection before powering it up to ensure everything is secure.
Test all functions of your NV49A Lightbar before hitting the road. Adjust if needed for maximum visibility and effectiveness during use.
Troubleshooting Common Issues
When installing the NV49A lightbar, you may encounter a few common issues. One of the most frequent problems is flickering lights. This could indicate loose wiring or poor connections. Double-check all your connections to ensure they’re secure.
Another issue might be inconsistent brightness across different sections of the lightbar. If this occurs, inspect for any damaged LEDs or check if there’s an obstruction affecting the light output.
If you’re facing difficulty with mounting, consider revisiting your installation angle. Sometimes adjusting it slightly can enhance visibility and performance.
If your control switch isn’t functioning properly, verify that it’s correctly connected and compatible with the NV49A model. A simple troubleshooting step can save you from unnecessary headaches down the road!
Tips and Tricks for a Smooth Setup Process
Before diving into the installation, lay out all your tools and materials. This simple step saves you time and frustration later.
When mounting the NV49A lightbar, ensure it’s positioned securely on a flat surface. Use rubber washers to minimize vibrations during operation.
Double-check your wiring connections before securing everything in place. An extra look can prevent future headaches.
If you’re drilling holes for mount brackets, consider using a pilot hole first. It helps guide larger bits and reduces slip risks.
After installation, test the lightbar while stationary before hitting the road. Ensure all lights function correctly under varied conditions.
Keep an eye on weather seals around wires after setup; they’ll protect against moisture-related issues over time.
Benefits of Using the NV49A Lightbar
The NV49A Lightbar offers a range of advantages that elevate its functionality. First and foremost, its powerful LED technology ensures high visibility even in challenging conditions. This feature is vital for emergency responders who need to be seen.
Durability is another significant benefit. Built to withstand harsh environments, the lightbar resists water, dust, and impacts. This longevity means fewer replacements over time.
Installation flexibility enhances usability as well. The NV49A can fit various vehicles without extensive modifications, making it an ideal choice for multiple applications.
Moreover, energy efficiency sets this lightbar apart from traditional models. It consumes less power while delivering impressive illumination levels—an essential factor for long-duration usage.
Customizable features allow users to tailor settings according to specific needs or preferences, ensuring optimal performance every time it’s deployed.
Conclusion
Installing the NV49A lightbar can greatly enhance your vehicle’s visibility and safety. With the right tools and materials, along with a step-by-step approach, you can achieve a seamless setup that maximizes performance. By troubleshooting common issues early on and utilizing helpful tips throughout the process, you ensure everything runs smoothly.
The benefits of using an NV49A lightbar extend beyond aesthetics; they play a vital role in improving road safety for both drivers and pedestrians. Whether you’re part of emergency services or an off-road enthusiast, this lightbar delivers reliability where it counts most.
With careful planning and execution, you’ll find that your NV49A lightbar installation will be straightforward and rewarding. Embrace the journey of enhancing your vehicle today!